-William Morris
Wednesday, November 28, 2012
Revealing beauty
-William Morris
Thursday, October 18, 2012
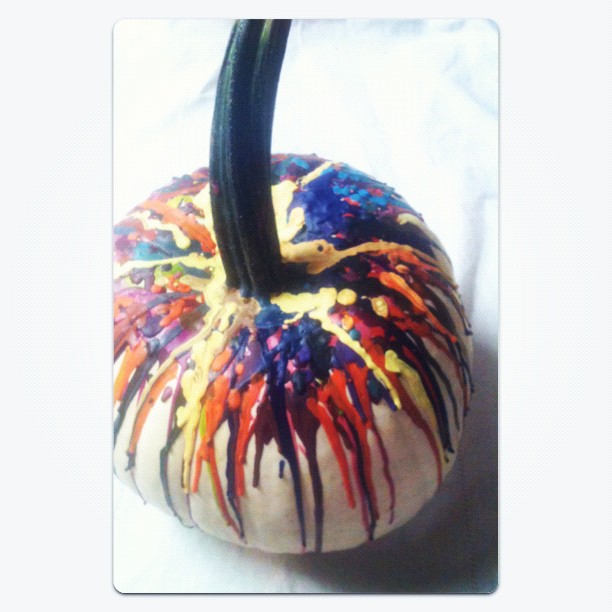
The crayonized pumpkin
Friday, October 5, 2012
Natural decor for fall
Tuesday, February 21, 2012
the small things

This was another uber-easy project, while I was recovering. Too ill to go jogging, scrub floors... but I could sew!
This was simply a matter of tracing the stencil letter-outline, then filling it in, and sewing it up. I used a bright gingham backer, to tie the colors together.
I mentioned games in a previous post. We played Richard Scary's Busytown over and over...
and over and over and over...
Sure, it's as cute as can be but, by the end of the weekend, I was soooo tired of searching for umbrellas and kites. Still, it's my Littlest 'Un's current favorite game so I mustered all the excitement I could, and grabbed my little orange magnifying glass. Beautiful games make repetition bearable.
All in all, the time spent sick was well worth it.
Little home touches were completed, slowly but surely, and we spent a LOT of time just hanging out and relaxing together.
Sunday, February 19, 2012
Hand-sewn homes
I've been sick for about two weeks now, and have felt worse lately than I did at the beginning. Ugh. All this after I gave my husband "a talk" about his health, how I'd like to transition our family away from white flour entirely, etc. Then I get sick. And there goes my point ~~poof~~ up in smoke. I'd like to think that my diet/habits have caused it to be less severe than it could've been.
Anyhow, I've had to say no to numerous fun social events and have spent a lot of time just playing cards with the kids, watching family movies, sewing. All in all, a welcome change from our sometimes-fast-paced-lifestyle.
Here are some hand-sewn homes I did this past week. The edges are left raw, and sprayed with "no fray." I like the raw look, and figure they won't require much washing.
Each home is about 12-18 inches tall. The fabric comes from the collection I inherited from Mimi.
Home is where your heart is, yes.
Saturday, February 4, 2012
more melted crayon art
Like my other crayon art here , we just peeled crayons and ran them straight through our mini glue gun. It's so fast and easy!
On Wednesday evening, we had our often-celebrated Sister Night. After doing some shopping together, we dined at The Pressroom.
YUM. The food and wine were so very delicious.


Saturday, January 7, 2012
Playing in the Kitchen
At her urging, I painted the "window wall" in the "breakfast room" (aka dining room, seeing as how I don't have a formal one here) a creamy tangerine color. Big change from the brownish purple color that wasn't working in there. I buckled down and finished it in a few hours, trim and all. It makes me HAPPY-- so bright, fresh, joyful.
...and my own little man decided that his GI Joes also needed a pool....
(great preK activity, btw. Kids love water!)
Tuesday, January 3, 2012
On the Fridge


Make a home that makes you smile.
Friday, November 25, 2011
Lego Keychain
May we never lose our keys again!
Saturday, September 3, 2011
Melted Crayon Art
Pin It
I've seen several different versions of this, from leaving crayons on canvas in a hot car (we tried it) to using a blow dryer to running crayons through a small hot glue gun. We had the best luck with the latter. The crayons fit perfectly in the glue gun. Peel them first, of course (my kids did this) and then run them through. You'll need to press on the end of the crayon, rather than relying on pushing the button. This will NOT ruin your glue gun. It works just fine afterwards with glue, but you might have some color residue.
It's now hanging in my living room, awaiting a "cool colors" companion canvas. :)